 ( 194 ) 14-Nov-2014
Now I start working on the binding. Here I am using the drum sander to dimension the individual cocobolo strips.
( 194 ) 14-Nov-2014
Now I start working on the binding. Here I am using the drum sander to dimension the individual cocobolo strips.
 ( 195 ) 14-Nov-2014
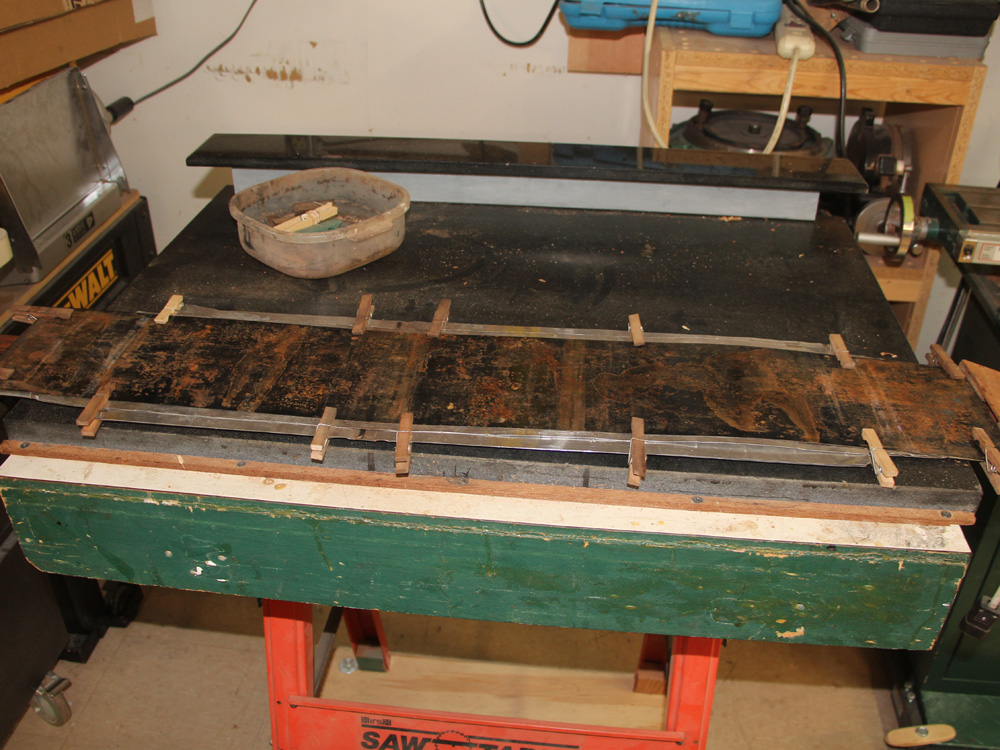
I will using the bending machine to shape them. Here they are going into the heating blanket.
 ( 196 ) 14-Nov-2014
 ( 197 ) 14-Nov-2014
The bending machine.
 ( 198 ) 14-Nov-2014
 ( 199 ) 14-Nov-2014
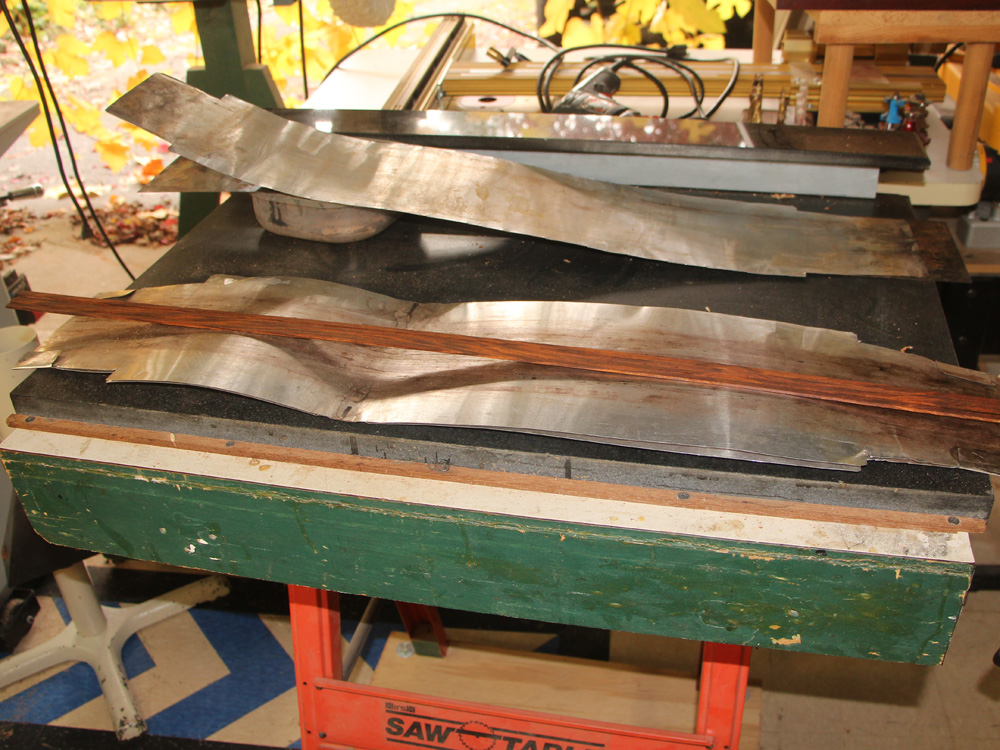
When I am done the strips have the shape of the guitar body.
 ( 200 ) 14-Nov-2014
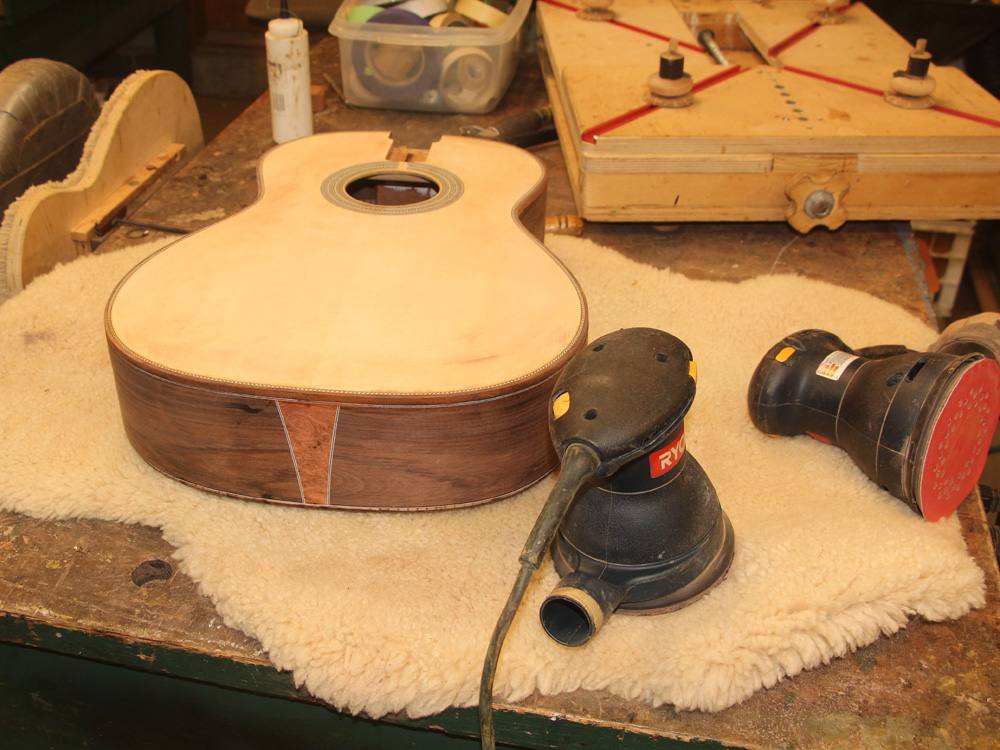
Before I install the binding I sand the top and back around the rim.
 ( 201 ) 14-Nov-2014
And then I sand the sides smooth.
 ( 202 ) 14-Nov-2014
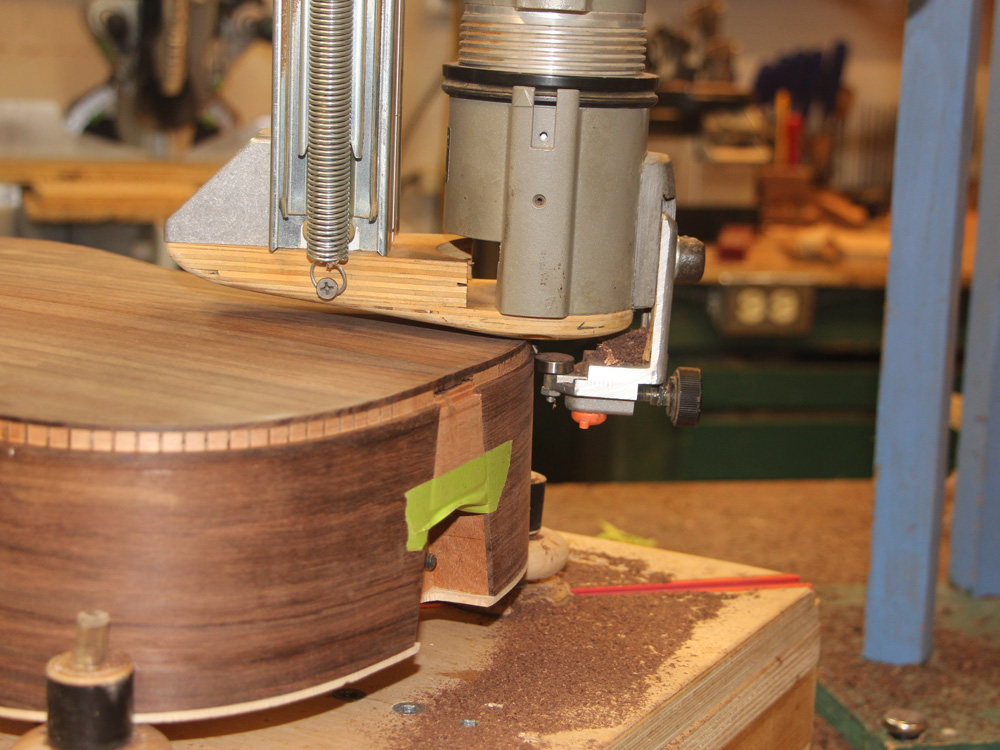
I use my bindalator to route the channels for the binding.
 ( 203 ) 14-Nov-2014
This tool holds the router vertical as I work my way around the rim.
 ( 204 ) 14-Nov-2014
The back channel
 ( 205 ) 14-Nov-2014
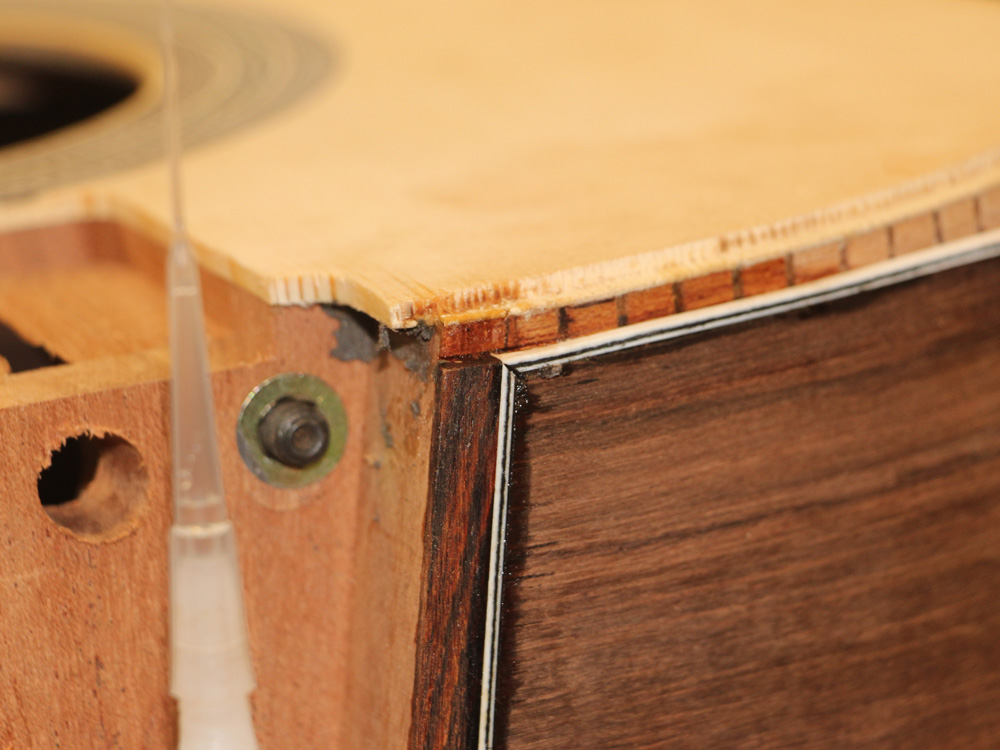
The top gets and extra channel for the purfling.
 ( 206 ) 14-Nov-2014
The top channels.
 ( 207 ) 14-Nov-2014
I use a few shims to center the heel in its channel, and then I mark the side for the heel binding.
 ( 208 ) 14-Nov-2014
I use a small saw to cut on the marked line.
 ( 209 ) 14-Nov-2014
And then a chisel to create the channel.
 ( 210 ) 14-Nov-2014
 ( 211 ) 14-Nov-2014
Now with the neck installed in the body I trim the binding until they just fit into the channel.
 ( 212 ) 14-Nov-2014
After gluing the binding in place I cut a little bevel into the pin striping
 ( 213 ) 14-Nov-2014
And then I install the rest of the pin striping.
 ( 214 ) 14-Nov-2014
 ( 215 ) 14-Nov-2014
Next I install the cocobolo binding.
 ( 216 ) 14-Nov-2014
It looks a bit messy.
 ( 217 ) 14-Nov-2014
 ( 218 ) 14-Nov-2014
But have no fear, it cleans up nicely.
 ( 219 ) 14-Nov-2014
 ( 220 ) 14-Nov-2014
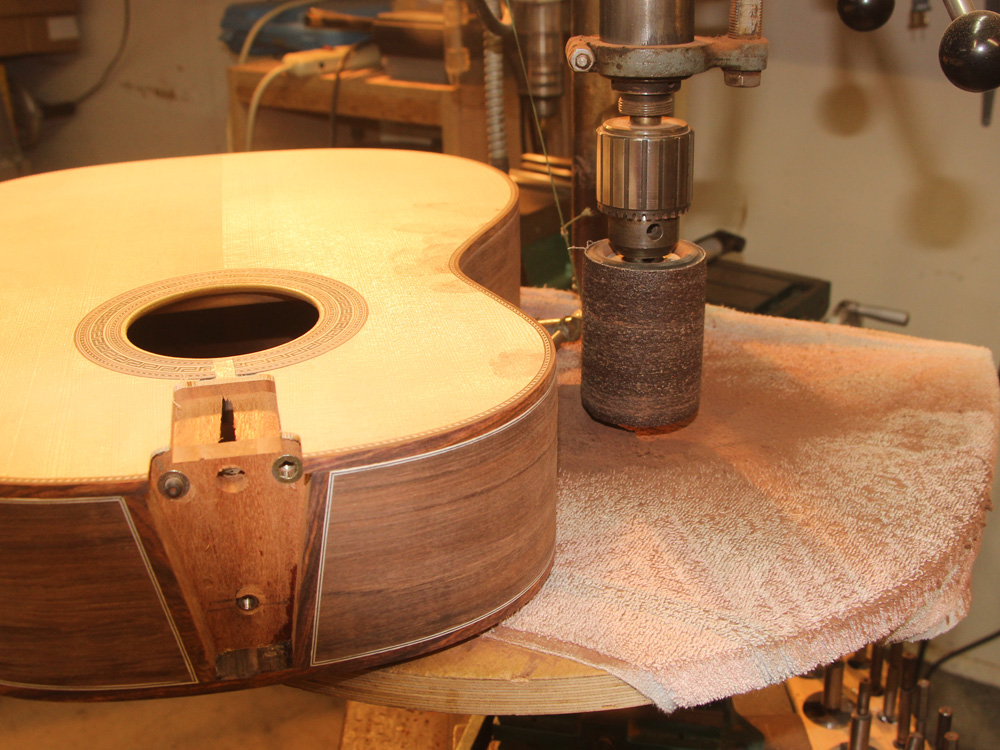
Now with the binding installed I can return to the neck. I drill two holes where the fulcrum set screws in the heel channel contact the neck.
 ( 221 ) 14-Nov-2014
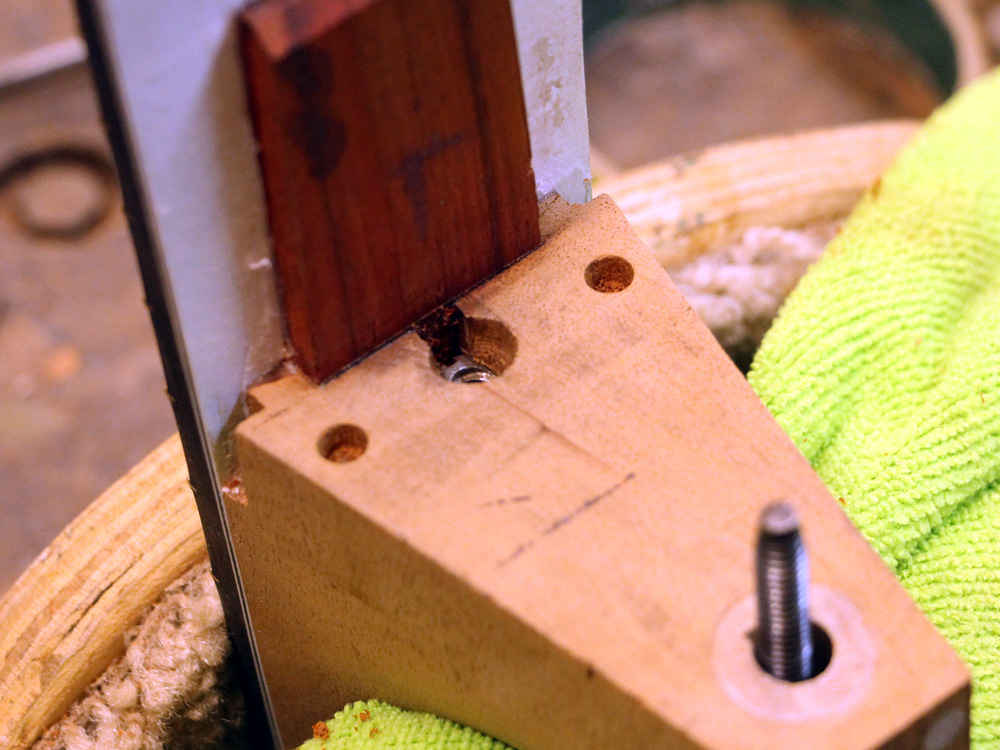
And then I install two short brass plugs.
 ( 222 ) 14-Nov-2014
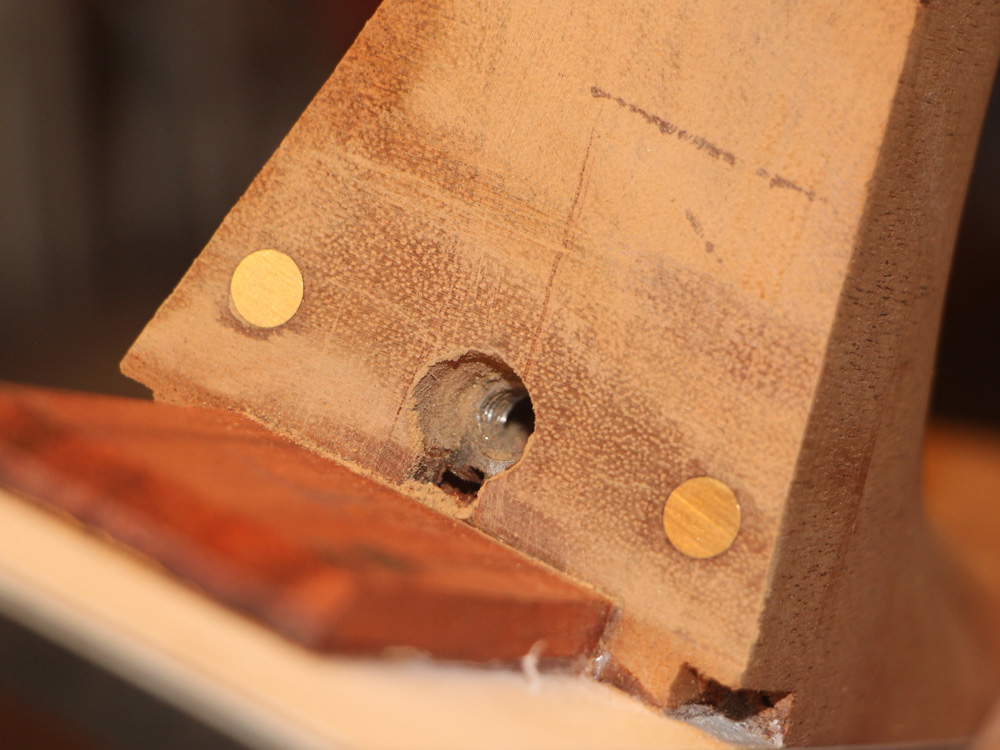
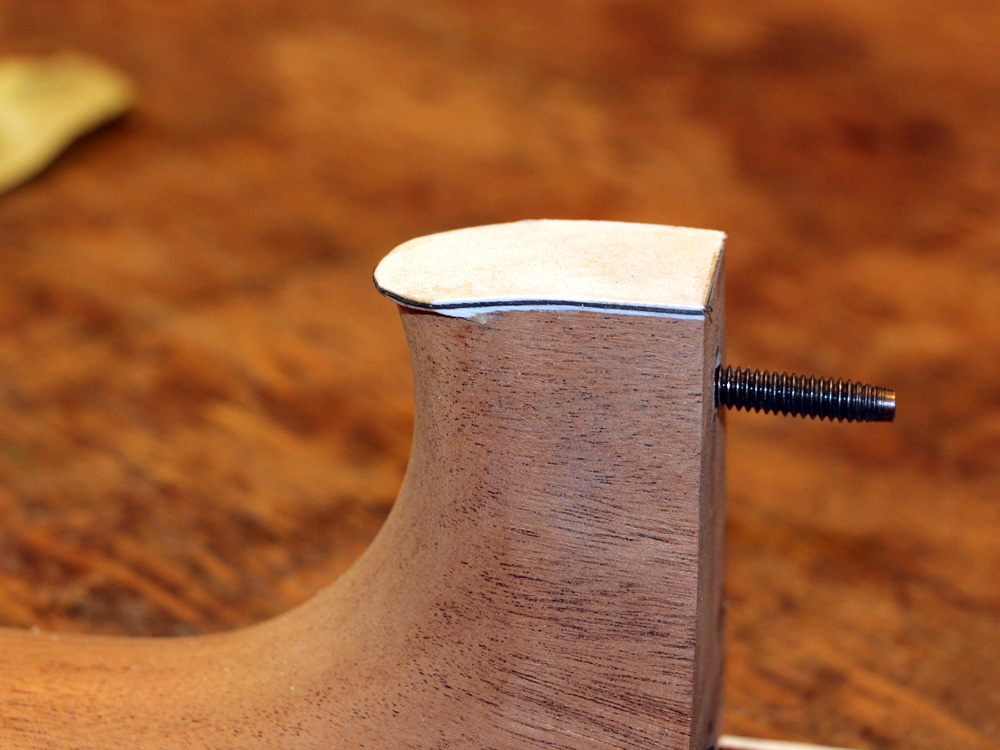
I sand these flush with the heel.
 ( 223 ) 14-Nov-2014
Here is one of the fulcrum set screws... the end is shaped into a point.
 ( 224 ) 14-Nov-2014
Next I fine tune the hidy-wing channel.
 ( 225 ) 14-Nov-2014
When I install the neck and tighten it down, the set screws press into the brass plugs making firm contact and leaving a small indentation..
 ( 226 ) 14-Nov-2014
With the neck in place I use this special sanding tool the level the end of the heel for the heel cap.
 ( 227 ) 14-Nov-2014
To make the heel cap I first install the pin striping.
 ( 228 ) 14-Nov-2014
And then I glue the end cap on to the heel.
 ( 229 ) 14-Nov-2014
Next I use my CNC router to route the channel for the head stock rose inlay.
 ( 230 ) 14-Nov-2014
A few hand tools ...
 ( 231 ) 14-Nov-2014
and I install the gold wire into the channel.
 ( 232 ) 14-Nov-2014
Here is the Portland Guitar Rose.
 ( 233 ) 14-Nov-2014
Now I use a small file and some polishing pads to dress the ends of the fret wires.
 ( 234 ) 14-Nov-2014
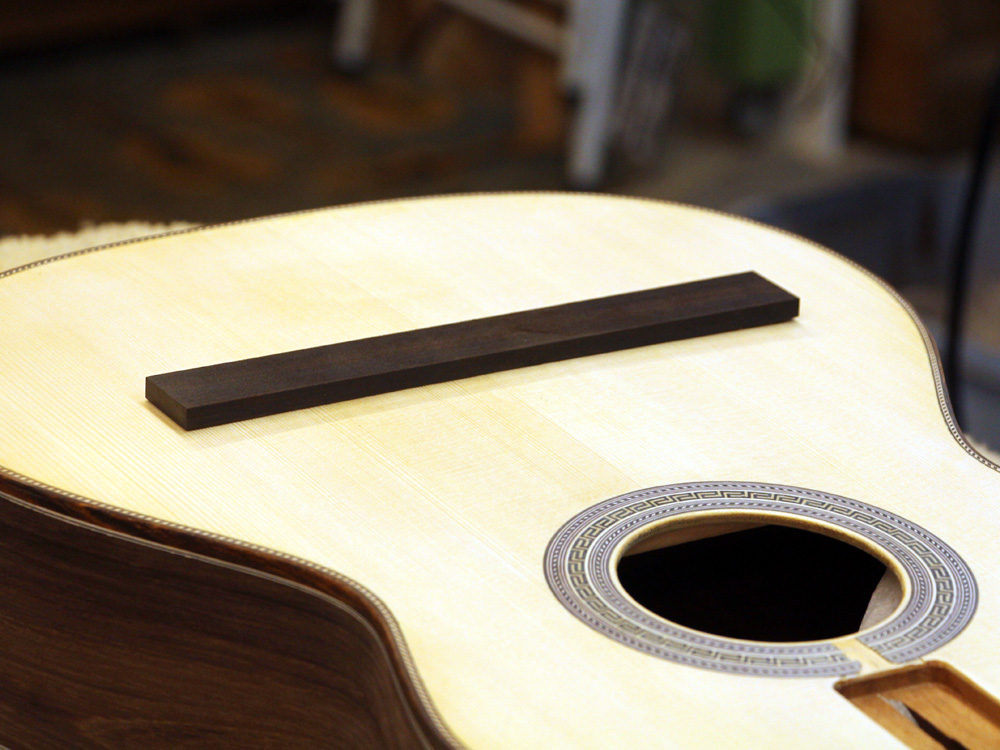
The top of the guitar has a 20 foot radius, so the bottom of the bridge needs to match it.
 ( 235 ) 14-Nov-2014
I use a shaped sanding block to sand the bottom of the bridge blank.
 ( 236 ) 14-Nov-2014
And then I glue the pin striping to the bottom of the blank.
 ( 237 ) 14-Nov-2014
And then the wings are formed with the oscillating sander.
 ( 238 ) 14-Nov-2014
Ready for the saddle plate.